How to Clean Cat Ears: Everything You Need to Know
Share:

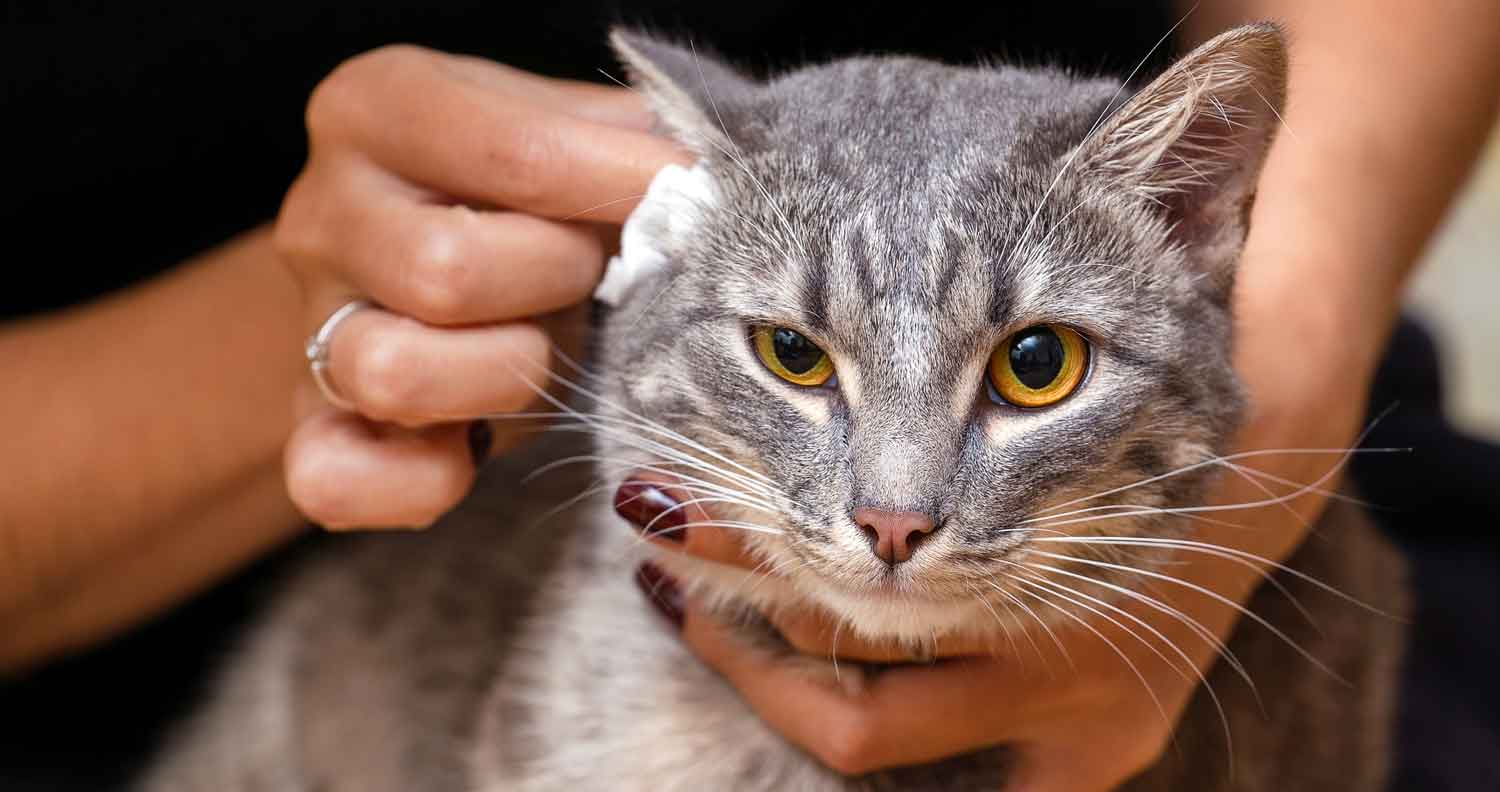
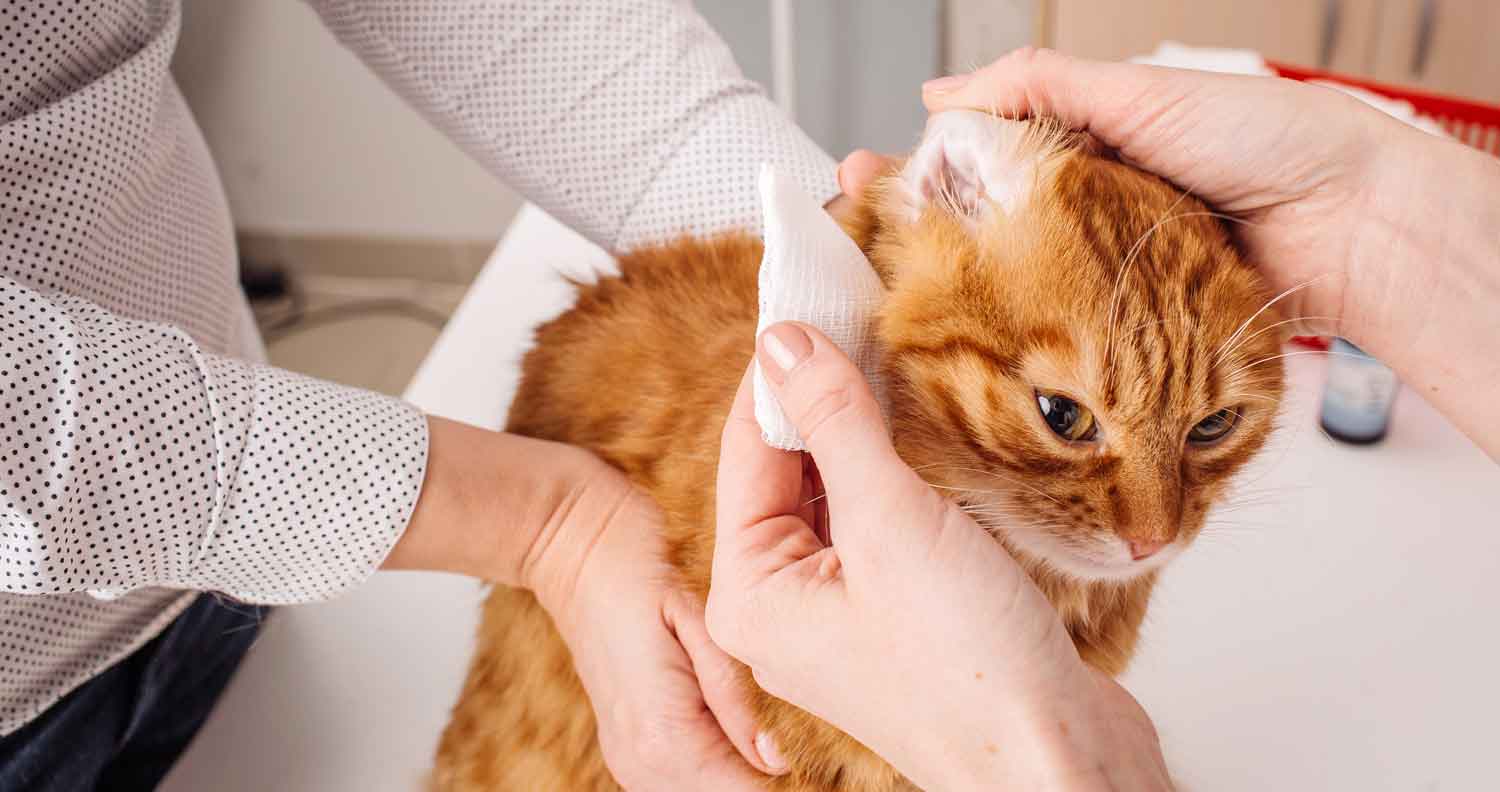
If you’ve ever wondered how to clean a cat’s ears – you’re not alone. An area often missed by your furry friend’s own grooming habits; the ears can end up getting quite dirty over time. While, like human ears, your cats’ ears will usually clean themselves most of the time. However, if you notice anything like discharge or odor, it might be time to act.
Since the ears of your kitty are ultra-sensitive, you might find it’s not as simple to get in there with cotton balls or a cotton swab as you might think. However, sometimes, a good clean is important to preventing infection, and other issues. If you think your moggy has an ear infection or similar symptoms please ensure you get them to a veterinarian.
Here’s what you need to know about cleaning your cat’s ears.
How Often Should You Clean Cat Ears?
When you’re grooming your feline friend with a nice brush, have a quick check inside of their ears to ensure there’s no buildup of gunk or mess you need to get cleaned out.
Cleaning your cats’ ears is something you really only need to do on an as-needed basis unless your vet recommends regular cleaning based on a chronic or acute condition. The frequency of the cleanings you conduct will usually depend on everything from your cat’s home environment to cat allergies and health issues.
On average, it’s a good idea to check your cat’s ears on a weekly basis for irritation, dirt, and wax. If at any point when checking your cat's ears you notice swelling, blisters, bleeding, or discharge that doesn’t look normal, contact your vet immediately. Infections and injuries in a cat’s ears can be very difficult and may need medication so make sure you act fast.
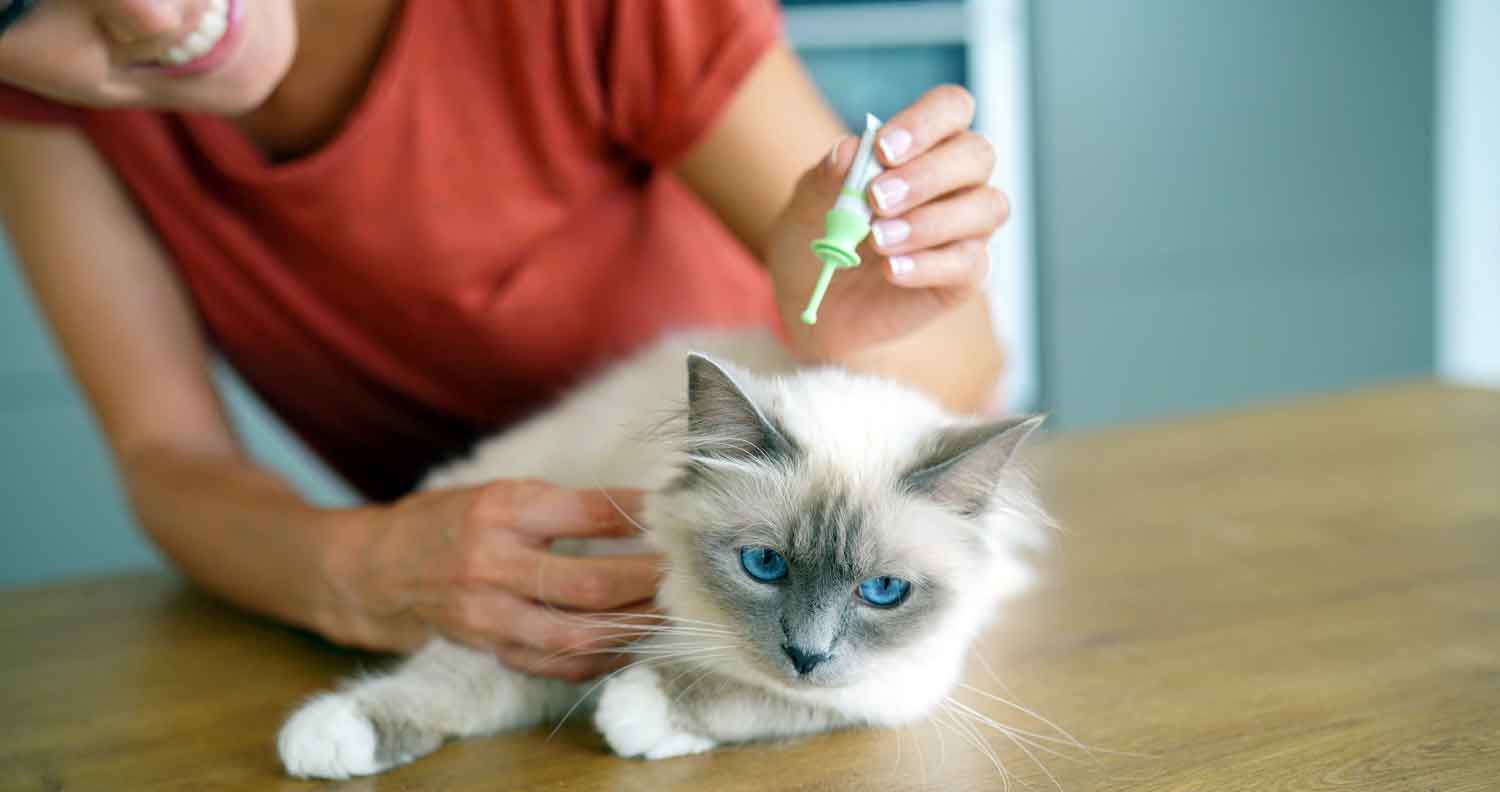
A good time to clean your cats’ ears is usually before and after a mite, tick, or flea treatment, this will help to remove any debris or bacteria left by pests.
How to Know if Your Cat has an Issue
As with humans, it’s pretty normal for your cat to have a small amount of earwax building up in their ears from time to time. If you notice “brown stuff”, it might just be wax. The important thing is to know how to tell the difference between a little wax, and a bigger problem.
When cleaning your cats’ ears, or just checking for signs they might need a wash, look for signs of ear issues like:
If the brown stuff in your cats’ ears is accompanied by an odd smell, this could be the sign of a yeast infection. These infections are often difficult to get rid of and will require both a treatment from your vet and regular cleaning. Your vet will be able to advise you on how often to clean your cat’s ears, and how you can make sure they’re cleaned properly.
It’s also worth looking for signs of injury when cleaning your cats’ ears. While all cats have ultra-sensitive ears, keep an eye out for signs your kitty might be extra uncomfortable when you’re touching their ears. Look for abrasions to the skin, cuts, and other issues which may indicate injury.
Ear mites are another serious issue worth watching for. These tiny pests are very irritating to your cats, and they leave behind debris that’s easy to notice – it looks like small flecks of black dirt or sand. The earlier you catch ear mites, the easier they are to treat.

How to Clean Cats Ears: Preparation
The first step in managing any grooming session for your cat is getting properly prepared. While there are some cats who don’t mind a little pamper, most will get a little uncomfortable when you start messing with their ears. If you can, start grooming your cat regularly when they’re a kitten to get them used to everything from brushing to ear checks.
It’s best to wait for a time when your cat is as relaxed as possible to start grooming. For instance, if they’re snoozing on the sofa with you, or they’re purring away on your lap, this is usually a good time to approach the idea. When your cat seems relaxed, make sure you have all the supplies you need already prepped and ready to access.
While the exact products you need to clean your cat’s ears may differ depending on the recommendations given by your vet, the most common options include:
Even a cat who is generally comfortable with a range of grooming practices will often feel uncomfortable when you’re cleaning their ears, so you’re going to need to be patient.
Choose a calm and quiet area of the house where there won’t be other distractions like pets and additional people.

Get 30% off and FREE shipping on cat food!
U.S.A. only
To Find out why we recommend chewy.com, click here
Cleaning your Cat's Ears: Step by Step
As mentioned above, wait for a time when your cat is calm to grab your cleaning supplies. Help them to relax by giving plenty of slow, gentle pats or a neck rub. Remember, you want them to associate the grooming process with positive things, so be ready to show some love and offer cat treats when necessary.
Remember, if your attempts at cleaning your cats’ ears cause your feline friend a lot of distress and they constantly struggle, yowl, or try to get away, you may need to stop. Forcing a clean can lead to you accidentally causing additional damage. Instead, speak to your vet and ask for their help.

Tips for Cleaning Your Cat's Ears
As you might imagine, cleaning a cats’ ears is rarely a simple process. You’re going to need to be patient with your feline friend, and you might find the whole job takes a lot more time than you’d think. We recommend getting the help of a loved one to hold your cat steady when you’re cleaning where possible. This should help to reduce some of the uncomfortable parts of the cleaning.
Here are some quick tips to make your life a little easier:
How to Clean the Ears of a Nervous Cat
If your cat is particularly nervous, flighty, or aggressive, it’s a good idea to take extra steps to keep them still when you’re cleaning their ears. Consider wrapping your cat in a blanket or towel, similar to what you would do if you were going to clip their nails.
Start by laying your towel flat on the floor or on a table, and place your cat diagonally in the middle, belly down. You’ll need to ensure your cat is relaxed for this part, or they won’t want to stay in one place. Keeping one hand on your kitty’s back to prevent them from moving, grab a corner of the blanket or towel and fold it over their back. Pull your hand out and place it on the towel, back on top of your kitty’s back.
Using your free hand, tuck the excess towel underneath your cat, and grab the other corner of the towel or blanket, folding it over the first section. You’ll need this wrap to be tight enough that your cat can’t move easily – but don’t make them too uncomfortable. Remember, you need to ensure your towel or blanket isn’t covering your cat’s head, so fold back any excess.
The remaining section of the towel should be available to pull across your kitty now. Tuck it snugly under your cat’s belly, so she’s swaddled like a child. Your cat probably won’t appreciate being held like this for long, so it’s best to be as quick as you can with the cleaning process, even without the claws to worry about.

Cleaning a Cat’s Ears: FAQ
Still uncertain about the process of cleaning your cat’s ears? If you’re nervous, you may want to speak to your vet for additional guidance and support. However, we do have some quick questions and answers here to help too.
Q: Should you clean your cat’s ears?
Cats are extremely clean creatures naturally, but they do sometimes need a little extra help with certain cleaning habits. Remember, they don’t have thumbs we have to make cleaning easier. For the most part, your cats’ ears are designed to naturally expel dirt (just like ours).
However, if you notice any signs of dirt, you’ll need to speak to your vet about a cleaning routine. Keeping your cats’ ears clean can be an important part of avoiding ear infections and other potential problems which can be quite distressing to your cat.
Q: What is the brown stuff in my cat’s ears?
Like human beings, cats regularly end up with wax in their ears, which may look like a flaky or oily brown substance. If there’s not too much of this wax present in your cats’ ears, this isn’t a problem, so you shouldn’t have to clean anything. However, if you notice discoloration in the wax or excessive amounts, you can talk to your vet about it, just in case.
Q: How do you tell if your cat has ear mites or just dirty ears?
If a cat has waxy ears, you’ll notice brown, waxy, or oily substances within the ears which you can easily wipe away. Ear mites are a little different, and it’s important to be aware of them, as they can be very irritating to your cat.
Mites are very small, so you won’t be able to see them like you would ticks or fleas. However, you can see the debris they leave behind. If you notice something that looks like grains of black sand, this is a good sign your cat has ear mites. The quicker you catch these mites, the better. Watch for signs of irritation in your cat too, like frequently shaking their head or scratching, or sensitivity when you touch your cat’s ears.
Q: Can I clean cats’ ears with water?
While you can wipe the outside of your cats’ ears with water, you should generally avoid using water to clean the inside of the ear canal. It’s too easy for water to get pushed further down into the ear canal. Hot and cold water can often cause a negative and uncomfortable reaction in your cat.
Ideally, you’ll need to use a specialist cat ear cleaner suggested by your vet.
Q: What if I notice a problem with my cats’ ears?
If you notice an issue, like an injury, or extreme discomfort from your cat when cleaning their ears, the best thing you can do is speak to a vet immediately. The quicker the problem is solved, the better.

Get 30% off and FREE shipping on cat supplies!
U.S.A only
To Find out why we recommend chewy.com, click here
Affiliate disclosure : We Love Cats and Kittens is a participant in several affiliate programs including the Amazon Services LLC Associates Program, and the Chewy affiliate program. These are affiliate advertising programs designed to provide a means for sites to earn advertising fees by advertising and linking to products on their sites. If you click on links in our blog posts and articles we may be paid a commission.
Share:

